

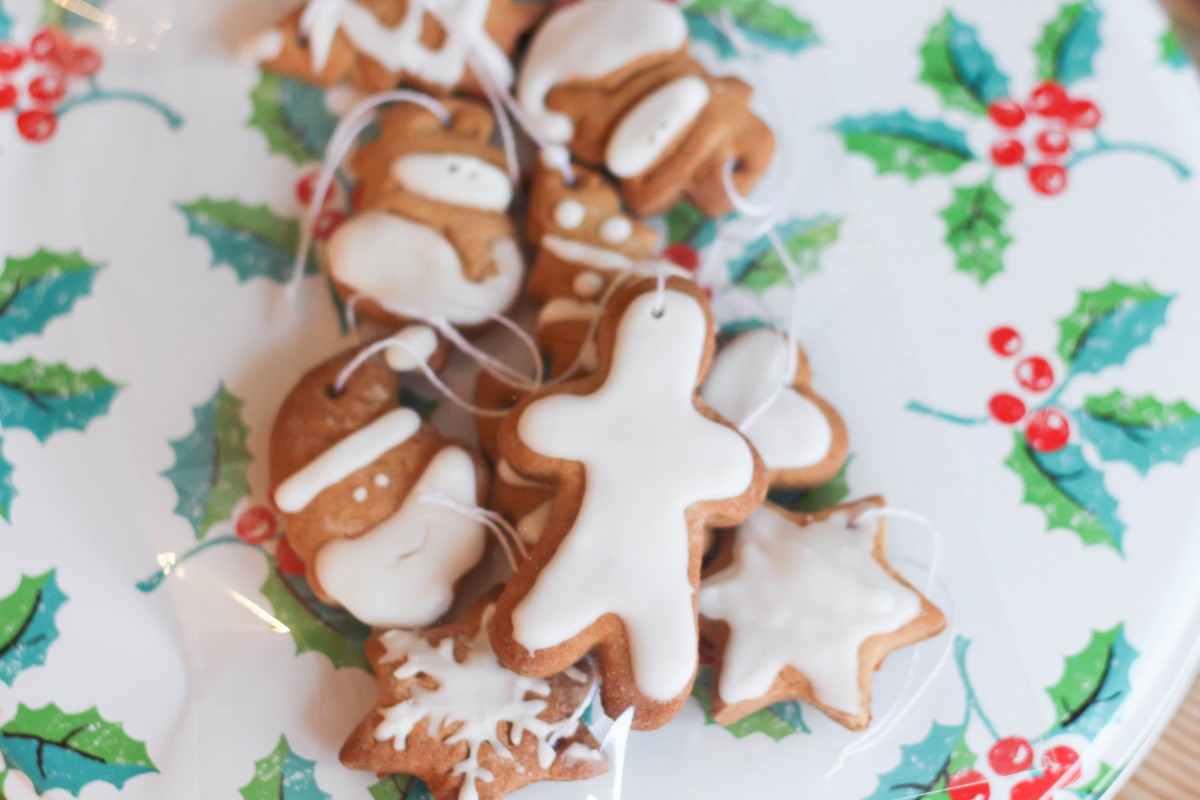
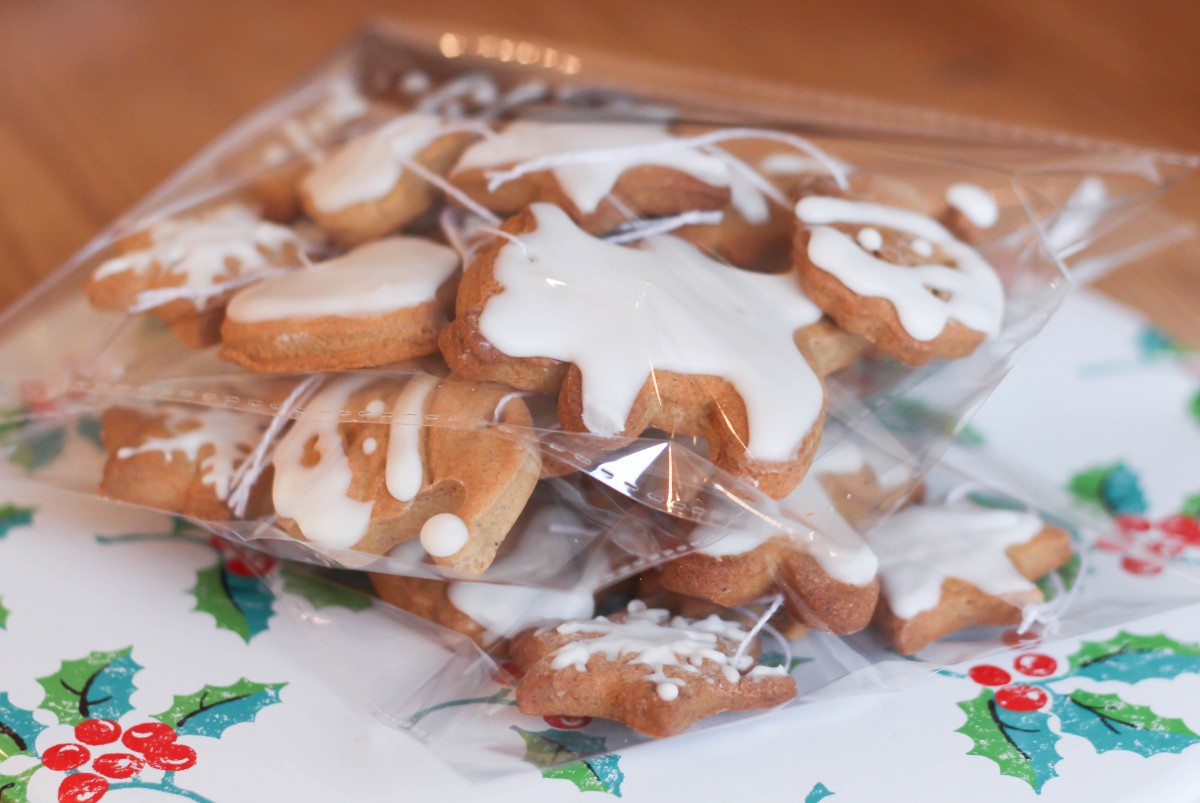
Rosalie and I have been busy baking lots of edible gifts for our friends and family. This is the first of our bakes. We had lots of fun making and icing these cookies. I hope our friends and family like them!

I N G R E D I E N T S
Makes: 35 – 40 biscuits
For the Biscuits
300 grams plain flour (plus more for dusting)
pinch of salt
1 teaspoon baking powder
1 teaspoon ground cinnamon
¼ teaspoon ground cloves
2 teaspoons freshly ground black pepper
100 grams soft butter
100 grams soft dark brown sugar
2 large eggs (beaten)
4 tablespoons runny honey
For the Icing and Trimmings
300 grams instant royal icing (from packet)
edible glitter or gold or silver balls (optional)
I N S T R U C T I O N S
1. Line 2 baking sheets with parchment and preheat the oven to 170°C/gas mark 3/350ºF.
2. Combine the flour, salt, baking powder, cinnamon, cloves and pepper in a food processor and, with the motor on, add the butter and sugar, then, slowly, the beaten eggs and runny honey, though don’t use all of this liquid if the pastry has come together before it’s used up.
3. Form 2 fat discs and put one, covered in clingfilm or in a freezer bag, in the fridge while you get started on the other.
4. Then dust a work surface with flour, roll out the disc, also floured, to about 5mm / ¼ inch and cut out your Christmas decorations with cutters of your choice, which could include fir-tree shapes, angels, stars, snowflakes, and so on.
5. Re-roll and cut out some more, setting aside the residue from this first disc, well covered, while you get on with rolling out the second. When you’ve got both sets of leftover clumps of dough, roll out and cut out again, and keep doing so till all the dough’s used up.
6. Now take a small icing nozzle and use the pointy end to cut out a hole just below the top of each biscuit (through which ribbon can later be threaded).
7. Arrange the pastry shapes on the lined baking sheets and cook for about 20 minutes: it’s hard to see when they’re cooked, but you can feel; if the underside is no longer doughy, they’re ready. Transfer to a wire rack and leave to cool.
8. Make up the instant royal icing, beating it until it’s thick enough to be able to cover the biscuits with a just-dripping blanket of white; but don’t beat it for as long as the packet says or you’ll have icing so thick it will need to be spread with a spatula and you won’t get such a neat outline.
9. Carefully ice the cold decorations, using a teaspoon (the tip for dripping, the back for smoothing), and scatter sparkles or sprinkles as you like. When the icing is set, thread ribbon through the holes and hang on your tree.
Recipe from Nigella Christmas
I’m so pleased with how these biscuits came out. I definitely think I will make some again next year. Will you be making any edible gifts this year?
16 Comments
joannavictoria
21st December 2016 at 1:50 PMAww how cute my sons not into bakeing atm but I’m hoping next year he will start to enjoy it.
Sarah
22nd December 2016 at 8:56 AMYou should try it! Rosalie started quite young as she loves to ‘help’ xx
Vikki Holness
21st December 2016 at 2:29 PMAwwww These look SO good and what a wonderful gift idea for family and friends. I’m definitely pinning this recipe to bake up some cookies with the boys! xx
Sarah
22nd December 2016 at 8:56 AMI was so pleased with how they turned out. Rosalie loved cutting out all the shapes. The boys will love it! xx
Rebecca | AAUBlog
21st December 2016 at 8:52 PMthese look fab – what a cute little tree. I have made mince pies but that it about it so far. We’re all off work from now so will get on it in the next few days – love baking! x
Sarah
22nd December 2016 at 8:58 AMI still haven’t made any mince pies but I’m hopefully going to do it later today… and the yule log! xx
Kerry Norris
21st December 2016 at 11:37 PMAwww these look super cute. If I have time I’ll defo make some with the girls x
Sarah
22nd December 2016 at 8:59 AMIt was so much fun! Rosalie loved cutting out all the different shapes xx
Janine
23rd December 2016 at 2:36 PMOh I love these. Personal gifts are the best. We are going to bake tomorrow.
Sarah
9th January 2017 at 3:18 PMSo lovely to give too and nice for the children to bake something lovely for family and friends xx
Stephanie moore
23rd December 2016 at 9:57 PMAh my girls would love to make those!
Sarah
9th January 2017 at 3:24 PMThey were so fun to make and I was so pleased with how well they came out. xx
TheLondonMum
23rd December 2016 at 11:34 PMI may make these tomorrow when my nephews come over- a house with three toddlers means I’ll need to find something to keep them occupied!!
Sarah
9th January 2017 at 3:25 PMGoodness me! Good luck, it’ll be practise for when you have 2 xx
Chloe Ciliberto
24th December 2016 at 9:35 AMThis is such a lovely family activity to do together. I really want to try this. Such a great gift idea. x
Sarah
9th January 2017 at 3:32 PMIt’s great, a really nice family activity as well as a lovely gift to give xx